利用CityScapes数据集,将其转换为COCO格式的实例分割数据集
– – – 进而再训练出新的YOLOv8-seg模型
写个前言:
人嘛,总想着偷点懒,有现成的数据集,就得拿来用,是吧?确实是这样。
接下来的步骤大概有这么几个,as follow.
S1:下载好cityscapes数据集【小的是带json的,大的是原图】
S2:将cityscapes转换为YOLO格式的JSON文件
S3:将此JSON文件转换为多个TXT文件【每个TXT对应自己的IMAGE】
S4:(根据需要,看看是不是自己要再加类别啥的)将这些个TXT文件转换成labelme对应的JSON文件
S5:(续S4)直接打开labelme,OK,至此和我的上一篇文章形成套环:
上一篇文章链接
S1:下载好cityscapes数据集【小的是带json的,大的是原图】


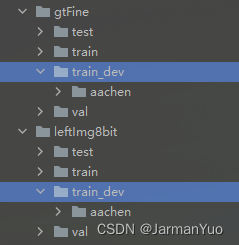
解压后,简单测试一个城市的,就比如Aachen:
分别把这俩数据集解压出来的Aachen城市的数据拿出来【我是分别单独给创建个dev测试目录存的】
S2:将cityscapes转换为YOLO格式的JSON文件【transcityscapes2coco_dev.py】【随便放位置】
import sys

if "/opt/ros/kinetic/lib/python2.7/dist-packages" in sys.path:
    sys.path.remove("/opt/ros/kinetic/lib/python2.7/dist-packages")

import cv2
import json
import os
from PIL import Image
import numpy as np
from pycococreatortools import pycococreatortools

ROOT_DIR = 'C:/Users/ycc/Desktop/cityscapes2coco-master/cityscape'
IMAGE_DIR = os.path.join(ROOT_DIR, "leftImg8bit/train_dev")
ANNOTATION_DIR = os.path.join(ROOT_DIR, "gtFine/train_dev")
ANNOTATION_SAVE_DIR = os.path.join(ROOT_DIR, "annotations")  # annotations是新创建的
INSTANCE_DIR = os.path.join(ROOT_DIR, "gtFine/train_dev")
IMAGE_SAVE_DIR = os.path.join(ROOT_DIR, "val_images")  # train_images是新创建的

INFO = {
    "description": "Cityscapes_Instance Dataset",
    "url": "https://github.com/waspinator/pycococreator",
    "version": "0.1.0",
    "year": "2020",
    "contributor": "Kevin_Jia",
    "date_created": "2020-1-23 19:19:19.123456"
}

LICENSES = [
    {
        "id": 1,
        "name": "Attribution-NonCommercial-ShareAlike License",
        "url": "http://creativecommons.org/licenses/by-nc-sa/2.0/"
    }
]

CATEGORIES = [
    {
        'id': 1,
        'name': 'car',
        'supercategory': 'cityscapes',
    },
    {
        'id': 2,
        'name': 'pedestrian',
        'supercategory': 'cityscapes',
    },
    {
        'id': 3,
        'name': 'truck',
        'supercategory': 'cityscapes',
    },
    {
        'id': 4,
        'name': 'bus',
        'supercategory': 'cityscapes',
    },
    {
        'id': 5,
        'name': 'rider',
        'supercategory': 'cityscapes',
    },
    {
        'id': 6,
        'name': 'caravan',
        'supercategory': 'cityscapes',
    },
    {
        'id': 7,
        'name': 'motorcycle',
        'supercategory': 'cityscapes',
    },
    {
        'id': 8,
        'name': 'bicycle',
        'supercategory': 'cityscapes',
    }
]

background_label = list(range(-1, 24, 1)) + [30, 31, 34]

idx = 0
pic_scale = 1.0
h_bias = 1.0


def image_trans():
    img_subfolders = os.listdir(IMAGE_DIR)
    image_count = 0
    for sub in img_subfolders:
        # sub_path = sub + '/' + sub
        image_sub_path = os.path.join(IMAGE_DIR, sub)
        for image in os.listdir(image_sub_path):
            img_path = os.path.join(image_sub_path, image)
            ann_name = image.split('_')[0] + '_' + image.split('_')[1] + '_' + image.split('_')[
                2] + '_gtFine_instanceIds.png'
            ann_sub_path = os.path.join(ANNOTATION_DIR, sub)
            ann_path = os.path.join(ann_sub_path, ann_name)
            if os.path.exists(ann_path):
                pic = cv2.imread(img_path)
                h, w = pic.shape[:2]
                new_w = w * pic_scale
                new_h = new_w / 2
                top = int((h_bias * h - new_h) / 2)
                bottom = int((h_bias * h + new_h) / 2)
                left = int((w - new_w) / 2)
                right = int((w + new_w) / 2)
                roi = pic[top:bottom, left:right]
                img_save_path = os.path.join(IMAGE_SAVE_DIR, image)
                cv2.imwrite(img_save_path, roi)
                annotation = cv2.imread(ann_path, -1)
                ann_roi = annotation[top:bottom, left:right]
                ann_save_path = os.path.join(ANNOTATION_SAVE_DIR, ann_name)
                cv2.imwrite(ann_save_path, ann_roi)
            else:
                print(image + '  do not have instance annotation')
            print(image_count)
            image_count += 1


def data_loader():
    imgs = os.listdir(IMAGE_SAVE_DIR)
    masks_generator(imgs, ANNOTATION_SAVE_DIR)


def masks_generator(imges, ann_path):
    global idx
    pic_count = 0
    for pic_name in imges:
        image_name = pic_name.split('.')[0]
        ann_folder = os.path.join(INSTANCE_DIR, image_name)
        os.mkdir(ann_folder)
        annotation_name = pic_name.split('_')[0] + '_' + pic_name.split('_')[1] + '_' + pic_name.split('_')[
            2] + '_gtFine_instanceIds.png'
        # annotation_name = image_name + '_instanceIds.png'
        print(annotation_name)
        annotation = cv2.imread(os.path.join(ann_path, annotation_name), -1)
        h, w = annotation.shape[:2]
        ids = np.unique(annotation)
        for id in ids:
            if id in background_label:
                continue
            else:
                class_id = id // 1000
                if class_id == 26:
                    instance_class = 'car'
                elif class_id == 24:
                    instance_class = 'pedestrian'
                elif class_id == 27:
                    instance_class = 'truck'
                elif class_id == 28:
                    instance_class = 'bus'
                elif class_id == 25:
                    instance_class = 'rider'
                elif class_id == 29:
                    instance_class = 'caravan'
                elif class_id == 32:
                    instance_class = 'motorcycle'
                elif class_id == 33:
                    instance_class = 'bicycle'
                else:
                    continue
            instance_mask = np.zeros((h, w, 3), dtype=np.uint8)
            mask = annotation == id
            instance_mask[mask] = 255
            mask_name = image_name + '_' + instance_class + '_' + str(idx) + '.png'
            cv2.imwrite(os.path.join(ann_folder, mask_name), instance_mask)
            idx += 1
        pic_count += 1
        print(pic_count)


def json_generate():
    car = 0
    pedestrian = 0
    truck = 0
    bus = 0
    rider = 0
    caravan = 0
    motorcycle = 0
    bicycle = 0
    files = os.listdir(IMAGE_SAVE_DIR)

    coco_output = {
        "info": INFO,
        "licenses": LICENSES,
        "categories": CATEGORIES,
        "images": [],
        "annotations": []
    }

    image_id = 1
    segmentation_id = 1

    # go through each image
    for image_filename in files:
        image_name = image_filename.split('.')[0]
        image_path = os.path.join(IMAGE_SAVE_DIR, image_filename)
        image = Image.open(image_path)
        image_info = pycococreatortools.create_image_info(
            image_id, os.path.basename(image_filename), image.size)
        coco_output["images"].append(image_info)
        print(image_filename)
        annotation_sub_path = os.path.join(INSTANCE_DIR, image_name)
        ann_files = os.listdir(annotation_sub_path)
        if len(ann_files) == 0:
            print("ao avaliable annotation")
            continue
        else:
            for annotation_filename in ann_files:
                annotation_path = os.path.join(annotation_sub_path, annotation_filename)
                for x in CATEGORIES:
                    if x['name'] in annotation_filename:
                        class_id = x['id']
                        break
                # class_id = [x['id'] for x in CATEGORIES if x['name'] in annotation_filename][0]
                if class_id == 1:
                    car += 1
                elif class_id == 2:
                    pedestrian += 1
                elif class_id == 3:
                    truck += 1
                elif class_id == 4:
                    bus += 1
                elif class_id == 5:
                    rider += 1
                elif class_id == 6:
                    caravan += 1
                elif class_id == 7:
                    motorcycle += 1
                elif class_id == 8:
                    bicycle += 1
                else:
                    print('illegal class id')
                category_info = {'id': class_id, 'is_crowd': 'crowd' in image_filename}
                binary_mask = np.asarray(Image.open(annotation_path)
                                         .convert('1')).astype(np.uint8)

                annotation_info = pycococreatortools.create_annotation_info(
                    segmentation_id, image_id, category_info, binary_mask,
                    image.size, tolerance=2)

                if annotation_info is not None:
                    coco_output["annotations"].append(annotation_info)

                    segmentation_id = segmentation_id + 1

            image_id = image_id + 1
            print(image_id)

    with open('{}/val_modified.json'.format(ROOT_DIR), 'w') as output_json_file:
        json.dump(coco_output, output_json_file)
    print(car, pedestrian, truck, bus, rider, caravan, motorcycle, bicycle)


if __name__ == "__main__":
    image_trans()
    data_loader()
    json_generate()
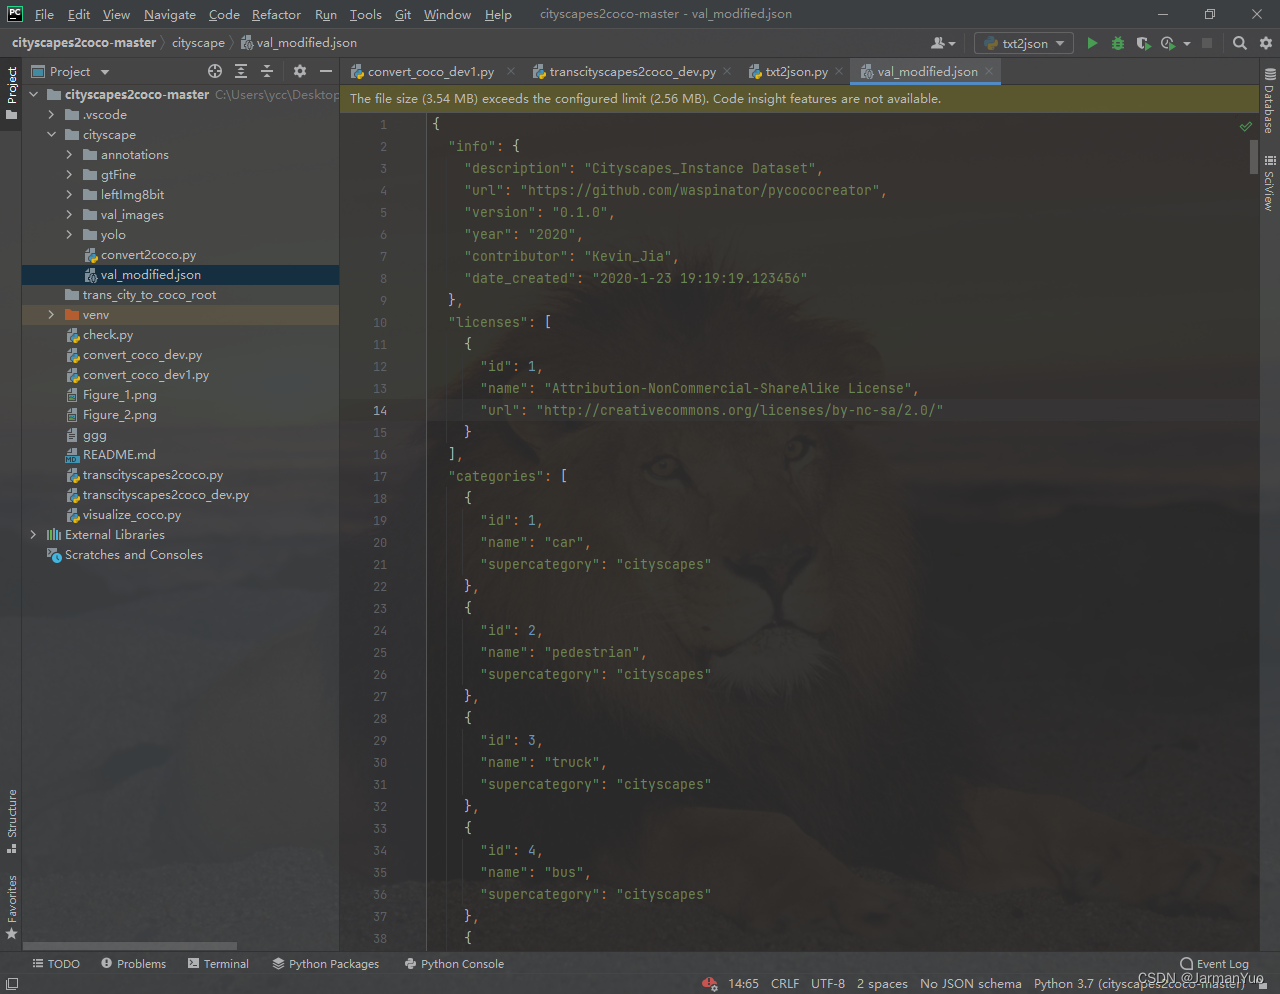
执行代码结束后,得到:val_modified.json【和你的数据集同目录】
Ctrl+Alt+L格式化一下JSON,好看一些。
S3:将此JSON文件转换为多个TXT文件【每个TXT对应自己的IMAGE**】**
【convert_coco_dev1.py】【随便放个地方】【注释掉的部分,是detect转换,不动代码的话,就是seg转换】
import json
import os


def convert_coco_to_yolo(coco_data):
    image_list = coco_data['images']
    annotations = coco_data['annotations']
    categories = coco_data['categories']

    yolo_data = []
    category_dict = {}  # 用于存储类别名和对应的序号
    for i, category in enumerate(categories):  # 构建类别名和序号的映射关系
        category_dict[category['name']] = i

    for image in image_list:
        image_id = image['id']
        file_name = image['file_name']
        width = image['width']
        height = image['height']

        image_annotations = [ann for ann in annotations if ann['image_id'] == image_id]
        yolo_annotations = []
        for ann in image_annotations:
            category_id = ann['category_id']
            category = next((cat for cat in categories if cat['id'] == category_id), None)
            if category is None:
                continue

            # bbox = ann['bbox']
            # x, y, w, h = bbox
            # x_center = x + w / 2
            # y_center = y + h / 2
            # normalized_x_center = x_center / width
            # normalized_y_center = y_center / height
            # normalized_width = w / width
            # normalized_height = h / height

            # 实例分割代码:
            segmentation = ann['segmentation']
            yolo_annotations.append({
                'category': category_dict[category['name']],  # 使用类别序号
                'seg': [site for site in segmentation]
            })

            # yolo_annotations.append({
            #     'category': category_dict[category['name']],  # 使用类别序号
            #     'x_center': normalized_x_center,
            #     'y_center': normalized_y_center,
            #     'width': normalized_width,
            #     'height': normalized_height
            # })

        if yolo_annotations:
            yolo_annotations.sort(key=lambda x: x['category'])  # 按类别序号排序
            yolo_data.append({
                'file_name': file_name,
                'width': width,
                'height': height,
                'annotations': yolo_annotations
            })

    return yolo_data, category_dict


path = 'C:/Users/ycc/Desktop/cityscapes2coco-master/cityscape'  # 修改为包含 via_export_coco.json 文件的目录路径
file_name = 'val_modified.json'  # 文件名
save_dir = 'C:/Users/ycc/Desktop/cityscapes2coco-master/cityscape/yolo/labels'  # 保存目录
file_path = os.path.join(path, file_name)  # 完整文件路径

if os.path.isfile(file_path):  # 检查文件是否存在
    with open(file_path, 'r', encoding='utf-8') as load_f:
        load_dict = json.load(load_f)
        yolo_data, category_dict = convert_coco_to_yolo(load_dict)

    os.makedirs(save_dir, exist_ok=True)  # 创建保存目录

    # 生成 class.txt 文件
    class_file_path = os.path.join(save_dir, 'classes.txt')
    with open(class_file_path, 'w', encoding='utf-8') as class_f:
        for category_name, category_index in sorted(category_dict.items(), key=lambda x: x[1]):
            class_f.write(f"{category_name}\n")

    for data in yolo_data:
        file_name = os.path.basename(data['file_name'])  # 提取文件名部分
        width = data['width']
        height = data['height']
        annotations = data['annotations']

        txt_file_path = os.path.join(save_dir, os.path.splitext(file_name)[0] + '.txt')

        with open(txt_file_path, 'w', encoding='utf-8') as save_f:
            for annotation in annotations:
                category = annotation['category']

                #实例分割代码
                segmentation = annotation['seg']
                line = f"{category}"
                tem = ""
                for s in segmentation:
                    tem = " ".join([f"{num:.6f}" for num in s])
                line = line + " " + tem + "\n"

                # x_center = annotation['x_center']
                # y_center = annotation['y_center']
                # box_width = annotation['width']
                # box_height = annotation['height']
                # line = f"{category} {x_center:.6f} {y_center:.6f} {box_width:.6f} {box_height:.6f}\n"
                save_f.write(line)

    print("转换完成,保存到:", save_dir)
else:
    print("文件不存在:", file_path)
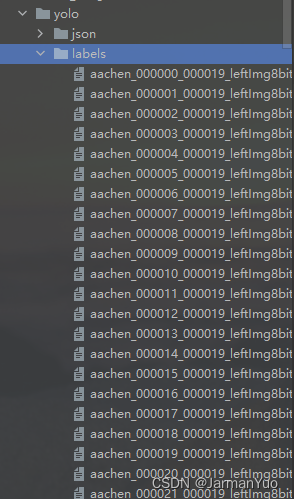
执行完之后,得到:labels【保存目录自己改,随你】
S4:(根据需要,看看是不是自己要再加类别啥的)将这些个TXT文件转换成labelme对应的JSON文件【不需要改动的话,就可以直接拿去训练YOLOv8-seg模型了,训练教程参考我的上一篇文章,链接在本文开头】
【txt2json.py】
import os
import cv2
import json
import glob
import numpy as np

def convert_txt_to_labelme_json(txt_path, image_path, output_dir, image_fmt='.jpg'):
    # txt 转labelme json
    txts = glob.glob(os.path.join(txt_path, "*.txt"))
    for txt in txts:
        labelme_json = {
            'version': '4.5.7',
            'flags': {},
            'shapes': [],
            'imagePath': None,
            'imageData': None,
            'imageHeight': None,
            'imageWidth': None,
        }
        txt_name = os.path.basename(txt)
        image_name = txt_name.split(".")[0] + image_fmt
        labelme_json['imagePath'] = image_name
        image_name = os.path.join(image_path, image_name)
        if not os.path.exists(image_name):
            raise Exception('txt 文件={},找不到对应的图像={}'.format(txt, image_name))
        image = cv2.imdecode(np.fromfile(image_name, dtype=np.uint8), cv2.IMREAD_COLOR)
        h, w = image.shape[:2]
        labelme_json['imageHeight'] = h
        labelme_json['imageWidth'] = w
        with open(txt, 'r') as t:
            lines = t.readlines()
            for line in lines:
                content = line.split(' ')
                label = content[0]
                shape = {
                    'label': str(label),
                    'flags': {},
                    'points': []
                }
                for i in range(len(content)):
                    if 2 * i + 1 >= len(content):
                        break
                    else:
                        try:
                            shape['points'].append([float(content[2 * i + 1]), float(content[2 * i + 2])])
                        except Exception as e:
                            print(e)

                labelme_json['shapes'].append(shape)
            json_name = txt_name.split('.')[0] + '.json'
            json_name_path = os.path.join(output_dir, json_name)
            fd = open(json_name_path, 'w')
            json.dump(labelme_json, fd, indent=4)
            fd.close()
            print("save json={}".format(json_name_path))


if __name__=="__main__":
    in_imgs_dir = 'C:\\Users\\ycc\\Desktop\\cityscapes2coco-master\\cityscape\\leftImg8bit\\train_dev\\aachen'
    in_label_txt_dir = 'C:\\Users\\ycc\\Desktop\\cityscapes2coco-master\\cityscape\\yolo\\labels'
    out_labelme_json_dir = 'C:\\Users\\ycc\\Desktop\\cityscapes2coco-master\\cityscape\\yolo\\json'

    if not os.path.exists(out_labelme_json_dir):
        os.mkdir(out_labelme_json_dir)
    convert_txt_to_labelme_json(in_label_txt_dir,in_imgs_dir,out_labelme_json_dir,image_fmt='.png')
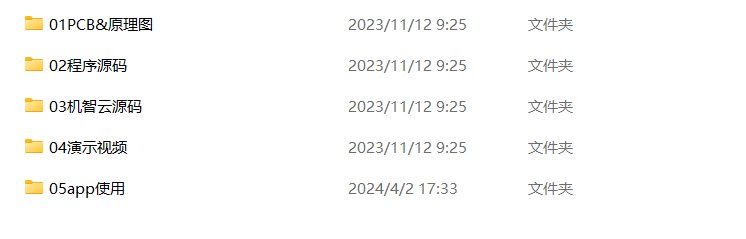
执行完之后得到JSON:
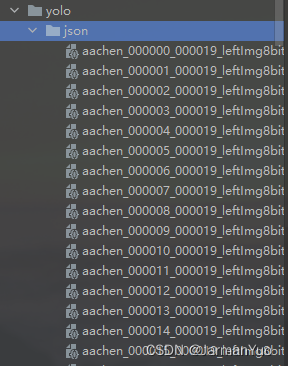
OK,至此,再将得到的JSON文件和image原图片文件放到一个文件夹下(对应的名字都一样,一份对应一个png一个json)如下:
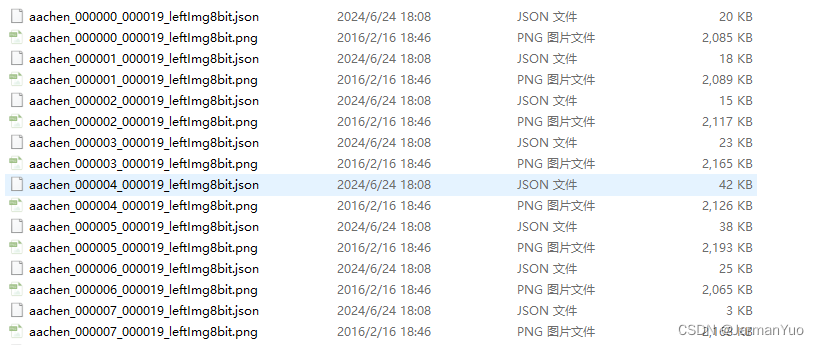
然后直接labelme打开这个目录就好了,开始编辑自己的数据集吧,we go…

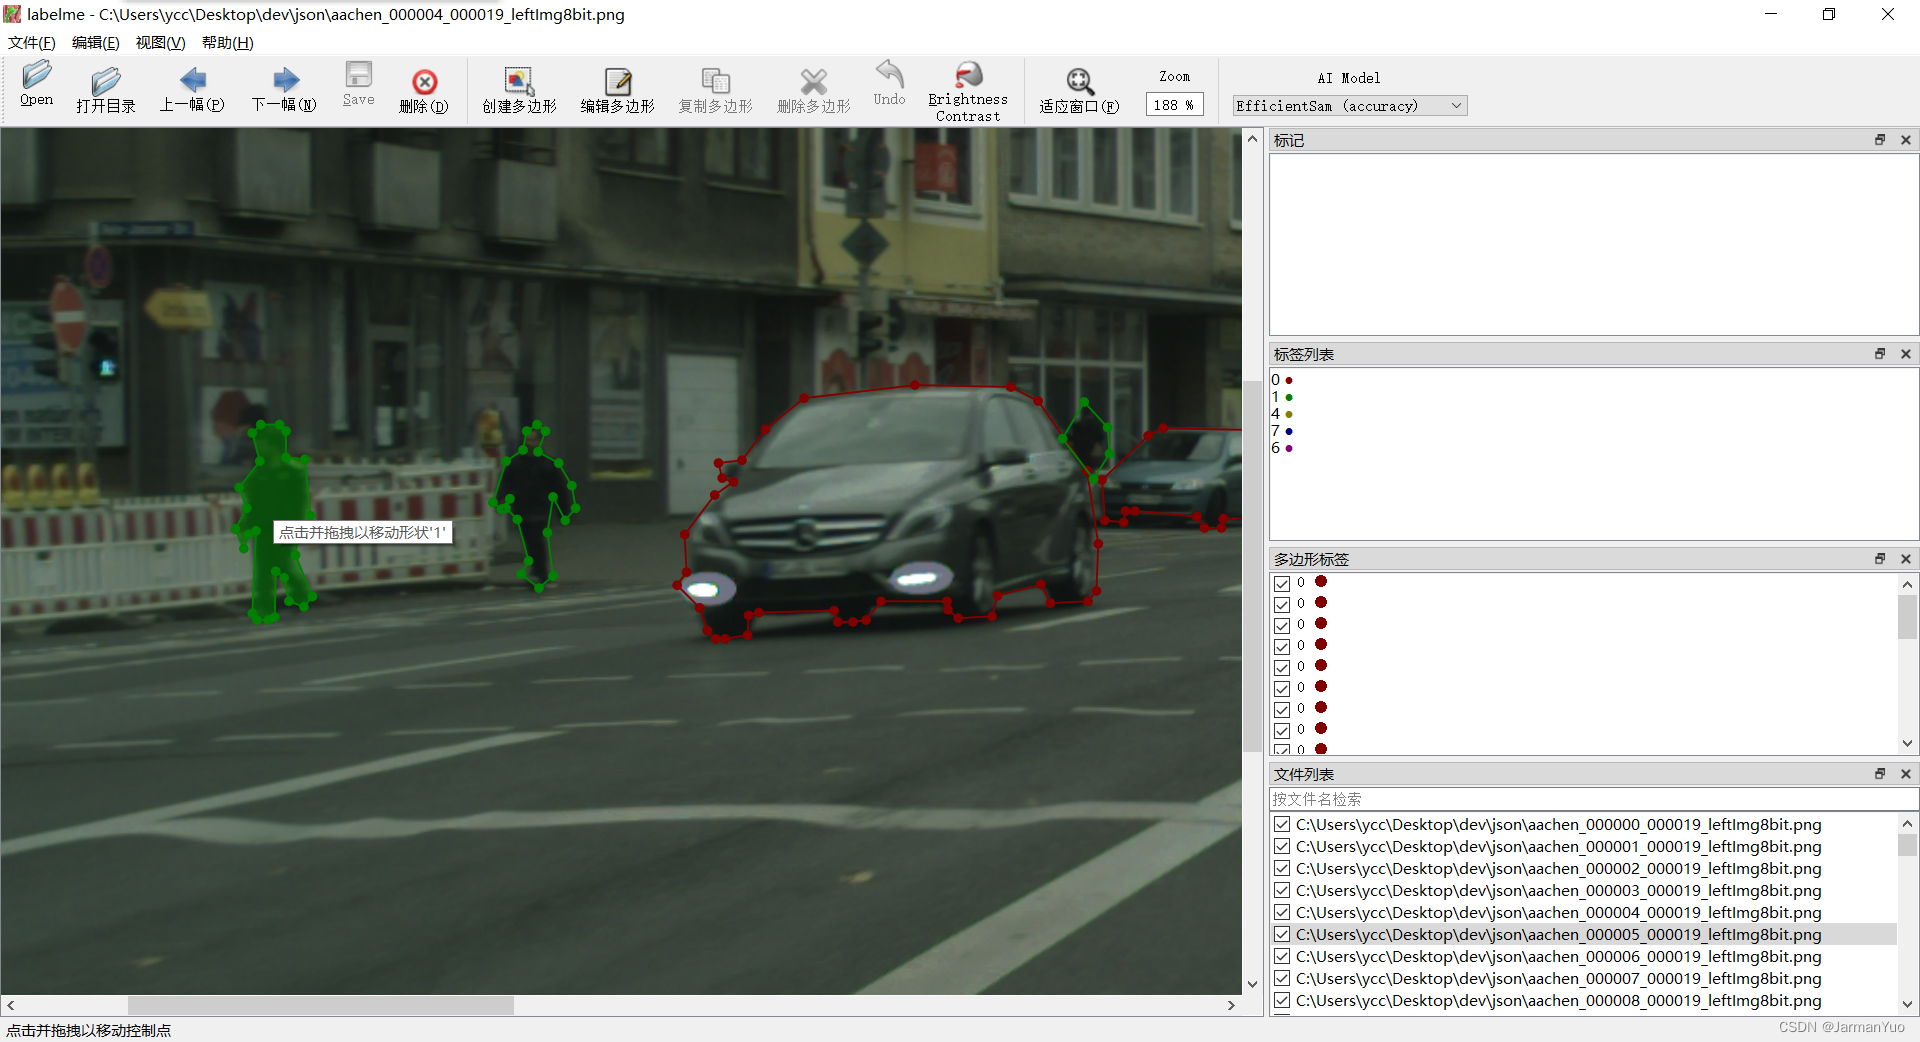
提一嘴,标签的名字整成数字了,不过能区分不同类别,问题是出在TXT转JSON这一步上,后边再更新,wait for me!